Friday 26 November 2010

Christmas Stocking

I'm mostly making Christmas gifts for people at the moment, that for obvious reasons can't be put on here. So I'm going to write about the stocking I made for Isabel's Christmas last year instead.

The inspiration for this stocking came from watching Kirstie Allsop's 'Kirstie's Homemade Christmas' which was on Channel 4 last year. You can find a step-by-step guide here on the 4Homes website.


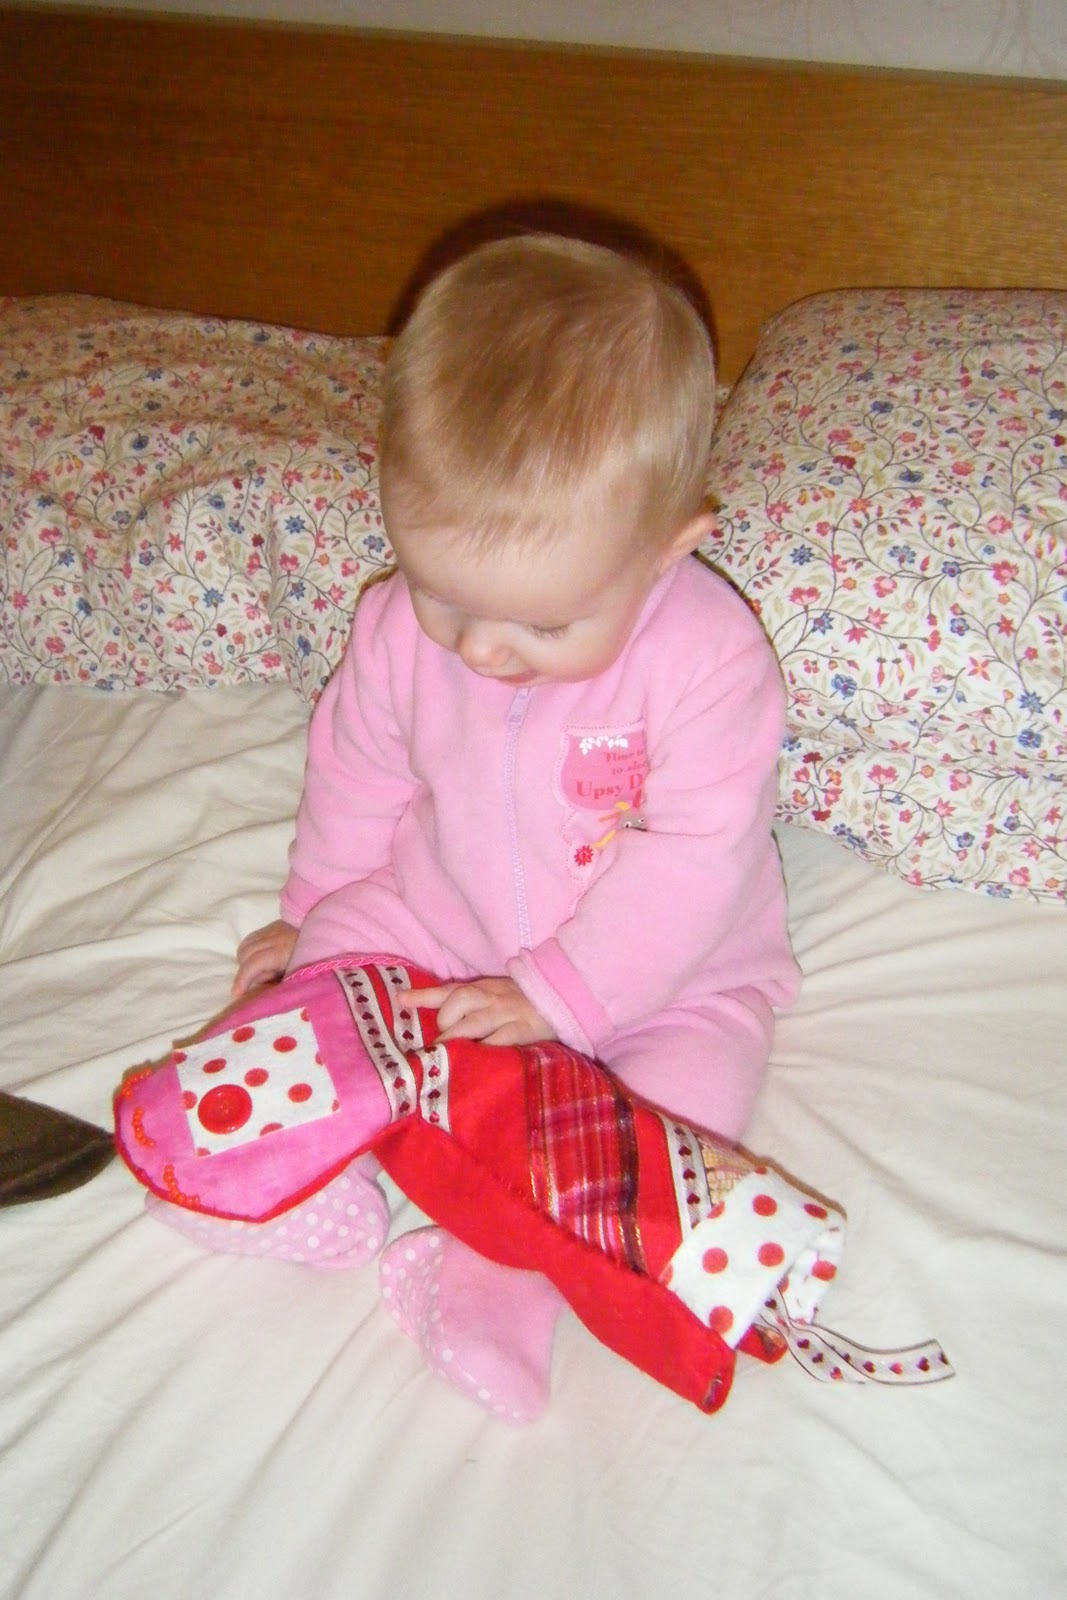
I made Isabel's by drawing and then cutting out a stocking shape from two layers of red felt. On one of the layers of felt, I glued/ sewed a patchwork of patterned felt, cotton fabric and ribbon, in reds and pinks.

The lining was cut from one of the fabrics, using the same template I had drawn for the felt outer. I then combined  machine-stitching with a bit of hand-stitching to sew the two layers of felt and lining together inside out, before turning it the right way round. To tidy up the top of the stocking, I sewed two extra wide pieces of felt around the top, which were then folded over to hide the gap between the lining and the outer.

The finishing touches were to sew a ribbon to hang the stocking from and a few buttons and beads for personalisation as well as embellishment, since Isabel had a bit of a thing for them (and still does).


The photos of Isabel opening her stocking on Christmas morning show that she liked it just as much as the stocking fillers it was made to contain! I can't wait to hunt it out of the decorations box and hang it up on the fireplace again this year as I'm sure she'll get even more pleasure out of it this time around.

My only disappointment was that I felt that it turned out smaller than I had intended, as I hadn't taken into account quite how much wastage there would be when stitching the layers together and then turning them inside out. Other than that, I'm really proud that I took the time to make something that Isabel will hopefully treasure for many years to come. Oh and the dinky size will surely save pennies when it comes to filling it year in, year out!

Monday 8 November 2010

Display Frame

This is a frame to display some of Isabel's art work in. The frame is a cheap, black, plastic one from IKEA, which I didn't like very much so I decided to decorate it. I got Isabel to help with gluing on the animal pictures, which I cut out of wrapping paper, and I glued on the letterings which spell out GLUE, PAINT, DRAW, WRITE. These were just typed in different fonts on a Word document and then printed out. The whole frame was then covered in a layer of glue afterwards to seal it.

I'm not that impressed with the final result, as I still don't like the black background of the frame and the glue looks a bit messy in places, but I'm pleased to have somewhere to put Isabel's drawings and paintings for now and she really enjoyed helping Mummy to make the frame too. It also gave us somewhere to put the much-cherished drawing that big cousin Anna sent to her last week.

Sunday 7 November 2010

Buggy Blanket

Isabel has needed a buggy blanket for a while now as I'm getting fed up of her kicking off loose blankets that then get dirty under the wheels.  I didn't want to shell out £25 for one that will only fit her for a few more months this winter though, so I had this idea that I would make one myself. 

I made this using a white fleece blanket I bought from Lidl last year, folding it in half and stitching around the bottom end and around the corner to keep it closed. I then sewed on buttons and loops, duffel coat style as I didn't think that I'd be able to make button holes neat enough in this material. The last thing I needed to do was to make holes in the back of the blanket, so that the buggy straps could be threaded through, which would hold the blanket on.

As you can see from the picture below, Isabel really loves her new blanket. I think the colour scheme of the buttons and felt patches really appeals to her, and she does love buttons on most things.


Saturday 6 November 2010

Little Owl

For Hallowe'en this year, I thought Isabel would like to dress as an owl. She already has a little owl mask which she likes to put on whilst hooting " twit twoo" and then make us hoot too, so I thought it would be an appropriate place to start, knowing for sure that she wouldn't hate the mask at least. I'd been thinking about it for a while and was determined to keep it a simple affair, based around the mask and an old brown long-sleeved bodysuit, that could be completed in a night. Well, here's the final result, and yes it did take a bit longer to complete that I had planned!

After browsing ideas on the Internet, my imagination started to run wild and simple browns and yellows became a rainbow pallete, based on the colours in the tights which I decided she would have to wear underneath the brown bodysuit, as it turned out to be a little too short for her.

The wings were made up of about 60 felt feathers, individually cut-out and partly sewn, partly glued on to a wing outline made from an old t-shirt of Will's. They took the most time. The rest was fairly simple. A pale brown breast for the owl was made from the same old t-shirt, which my mum stitched on as my sewing just isn't up to that standard. The mask was sewn on to Isabel's wooly hat in the end, as she kept putting it on and pulling it off again so many times that the elastic burst and tore the foam, so it was just easier that way.

I was quite nervous that she might just flatly refuse to put the wings on but it turned out that Isabel LOVED her costume. She had it on all day and even wore it to the airport to collect Daddy that evening, amusing lots of bored commuters by "flying" around the arrivals gate.

Monday 1 November 2010

Heart Mobile


Isabel and I decorated this heart mobile we found in Ikea's bargain corner together- I covered the heart template in glue and she stuck on the scraps of paper, ribbon and felt. We've hung it above her cot using the ribbon that came with it.

She seemed very pleased with her handiwork and I thought it was much better than the one I made for her myself a few months ago! I love it that we can do creative things like this together and Isabel's really into gluing at the moment. She considers quite carefully what she's going to use and where she'd like things to go before placing them on. All of this I find quite impressive from an 18 month old toddler.