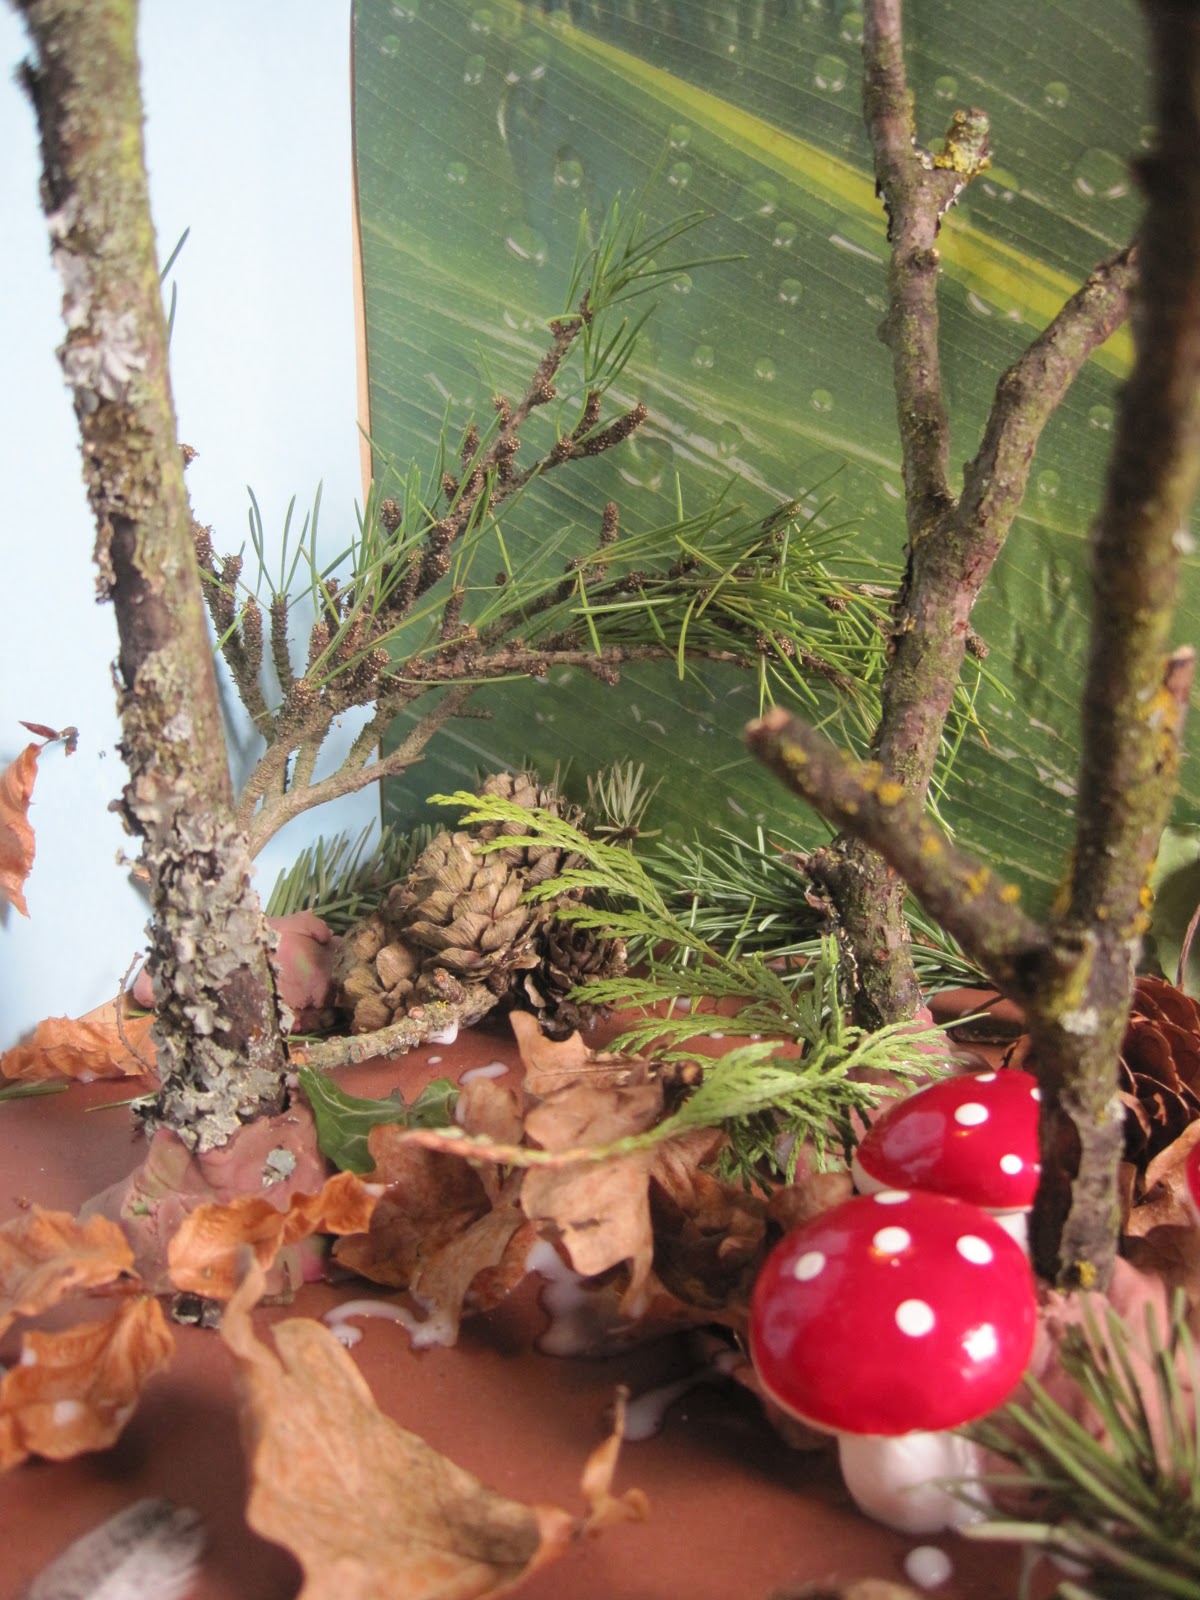
This idea was inspired by the toadstools, which I found in the Hobbycraft sale for 99p. Belle spotted them and took to them instantly and we decided to make a woodland scene together. So, a couple of days later, we went for a walk in the woods to collect cones, twigs and leaves for our scene.
The 3D box shape was made from card, I measured it out and folded it to the size I wanted it. Belle helped choose the background colours, from a range of coloured and patterned papers that I already have at home. We then added the 'trees', using brown play dough ( just mix green and pink to make brown) to hold the twigs in place. The rest was glued down with PVA, including the toadstools, which I had cut the wires off beforehand.
I was really pleased with Belle's composition, she chose where she wanted everything to go and only needed a little help with the sticking down. This is a really easy thing to try at home, and you can do it with whatever you find in your garden, in the woods or even try a beach themed one instead. I do think that the toadstools really finish it off though, so try to find a 'feature' for your one.
“There is no doubt that creativity is the most important human resource of all. Without creativity, there would be no progress, and we would be forever repeating the same patterns.” — Edward de Bono
Friday, 3 February 2012
Tuesday, 15 February 2011
Birth Announcement
I made this birth announcement for my brother's Christmas, to commemorate his daughter's birth in November.
I was inspired by these birth announcements on Etsy. Which were done using a printing method and the art of typography. I found printing from my computer quite limiting, so decided to combine typography with collage to give it a more individual look.
I got the variety of patterned papers ( and some of the fancy lettering) in a scrapbooking kit, which I bought from Paperlace in Dalkeith and used Word to type then print the names. I spent a long time trying out different fonts, colours and sizes and arranging them on the page to get the best layout. All of the paper was hand cut using a craft knife, a metal ruler and a cutting board.
I wanted a little motif of some sort, one which would match Rachel's bedroom decor, so I found out the name of the website which Derek and Nicola bought their wall stickers from and sourced miniature pictures of two of the images in the set, a rainbow and a tree with a little bird sitting on the top.
One of the trickiest things about making this was subtly trying to find out Rachel's exact time of arrival so long after her birth, without Derek or Nicola realising something was afoot!
Wednesday, 5 January 2011
Lavender Bags
I made these lavender bags for my sister Louise's Christmas, using material bought from John Lewis and crocheted flowers which I found in Ikea's fabulous fabrics and sewing department. The ribbons and buttons came from my sewing box ( I always save the ribbons I cut off the inside of dresses).
Louise loves all things bright and prefers blues and greens, but I also added in pinks to make it a bit different and to tie in the material from John Lewis that I loved.
To make one, I cut out two CD sized circles from the material and sewed a ribbon loop on to one circle with a button to disguise my amateurish sewing. I pinned both circles together inside out, with the crocheted flower in between the two layers. I then sewed the three parts together, leaving a small gap to turn the bag right side out again. Before sewing the bag up, I stuffed it with cotton wool pads and dried lavender ( not from my garden, sadly there just wasn't enough at this time of year- I'll have to plan ahead next time) and then stitched up the hole. Finally, I decorated the outer of one the bags with three matching buttons.
Friday, 31 December 2010
Rachel's Stocking
This year I made a stocking for my niece's first Christmas. It was made in the same style as Isabel's one was, but having learned from making that one I've made some improvements. I made sure this one was a bit bigger and also I didn't use any fabric glue this time as I found it made messy marks and made the fabric go a bit hard in places. Also,this time the backing was made from a lovely, shiny teal quilted material that Louise gave me ( it was her old quilt) and this made a better base to sew on to than felt, which I used last time.
I'm extremely chuffed with this stocking, and I think Rachel and her parents are too!
Sunday, 12 December 2010
Gift Tags
We've been making our own gift tags this year. Belle helped by stamping ( her choice of) three different Christmas sponges in metallic paint on to white paper, which I then cut out and mounted on to coloured card. I then used a shape cutter to cut out stars/ snowflakes which were threaded on to the gift tag ribbon.
I really liked coming up with different colour and pattern combinations for the tags and I'm really pleased with the outcome. I would've liked to have come up with a quicker method for cutting out the two circles needed for each of the 20 tags I made though as it took several evenings to make them all!
Monday, 6 December 2010
Fairy Cakes
Isabel and I made some fairy cakes this evening. Well, I made the cakes ( just a Victoria sponge recipe) and Isabel iced and decorated them. She loved doing this and I was really quite impressed by how good she was at applying the icing. Anyway, I wont bore you with the details of how to make fairy cakes. I'll just tell you that they were some of the best cakes I've ever made! Even Will was impressed. Although he was not so impressed about them being drowned in hundreds and thousands.
Friday, 26 November 2010
Christmas Stocking
I'm mostly making Christmas gifts for people at the moment, that for obvious reasons can't be put on here. So I'm going to write about the stocking I made for Isabel's Christmas last year instead.
The inspiration for this stocking came from watching Kirstie Allsop's 'Kirstie's Homemade Christmas' which was on Channel 4 last year. You can find a step-by-step guide here on the 4Homes website.
I made Isabel's by drawing and then cutting out a stocking shape from two layers of red felt. On one of the layers of felt, I glued/ sewed a patchwork of patterned felt, cotton fabric and ribbon, in reds and pinks.
The lining was cut from one of the fabrics, using the same template I had drawn for the felt outer. I then combined machine-stitching with a bit of hand-stitching to sew the two layers of felt and lining together inside out, before turning it the right way round. To tidy up the top of the stocking, I sewed two extra wide pieces of felt around the top, which were then folded over to hide the gap between the lining and the outer.
The finishing touches were to sew a ribbon to hang the stocking from and a few buttons and beads for personalisation as well as embellishment, since Isabel had a bit of a thing for them (and still does).
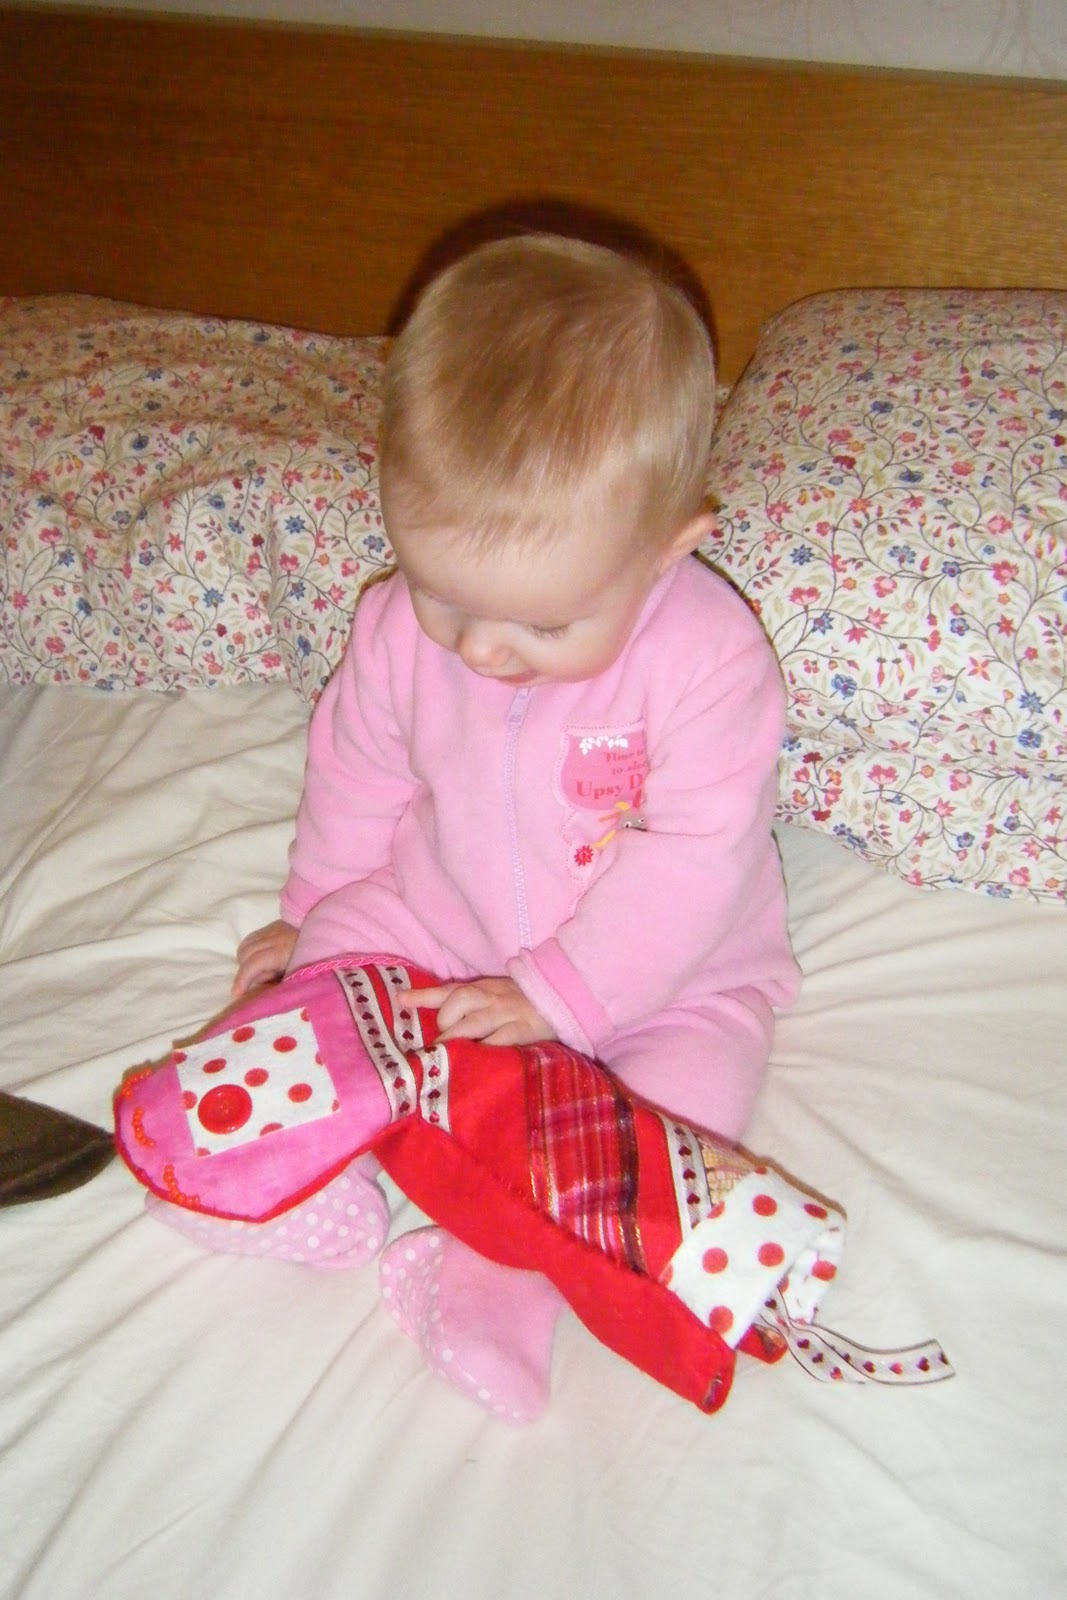
The photos of Isabel opening her stocking on Christmas morning show that she liked it just as much as the stocking fillers it was made to contain! I can't wait to hunt it out of the decorations box and hang it up on the fireplace again this year as I'm sure she'll get even more pleasure out of it this time around.
My only disappointment was that I felt that it turned out smaller than I had intended, as I hadn't taken into account quite how much wastage there would be when stitching the layers together and then turning them inside out. Other than that, I'm really proud that I took the time to make something that Isabel will hopefully treasure for many years to come. Oh and the dinky size will surely save pennies when it comes to filling it year in, year out!
The inspiration for this stocking came from watching Kirstie Allsop's 'Kirstie's Homemade Christmas' which was on Channel 4 last year. You can find a step-by-step guide here on the 4Homes website.
I made Isabel's by drawing and then cutting out a stocking shape from two layers of red felt. On one of the layers of felt, I glued/ sewed a patchwork of patterned felt, cotton fabric and ribbon, in reds and pinks.
The lining was cut from one of the fabrics, using the same template I had drawn for the felt outer. I then combined machine-stitching with a bit of hand-stitching to sew the two layers of felt and lining together inside out, before turning it the right way round. To tidy up the top of the stocking, I sewed two extra wide pieces of felt around the top, which were then folded over to hide the gap between the lining and the outer.
The finishing touches were to sew a ribbon to hang the stocking from and a few buttons and beads for personalisation as well as embellishment, since Isabel had a bit of a thing for them (and still does).
The photos of Isabel opening her stocking on Christmas morning show that she liked it just as much as the stocking fillers it was made to contain! I can't wait to hunt it out of the decorations box and hang it up on the fireplace again this year as I'm sure she'll get even more pleasure out of it this time around.
My only disappointment was that I felt that it turned out smaller than I had intended, as I hadn't taken into account quite how much wastage there would be when stitching the layers together and then turning them inside out. Other than that, I'm really proud that I took the time to make something that Isabel will hopefully treasure for many years to come. Oh and the dinky size will surely save pennies when it comes to filling it year in, year out!
Subscribe to:
Posts (Atom)